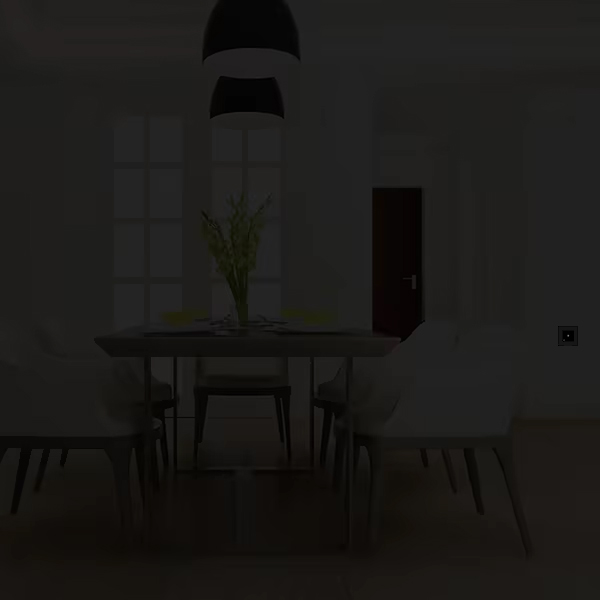
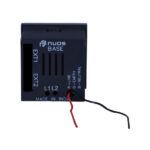
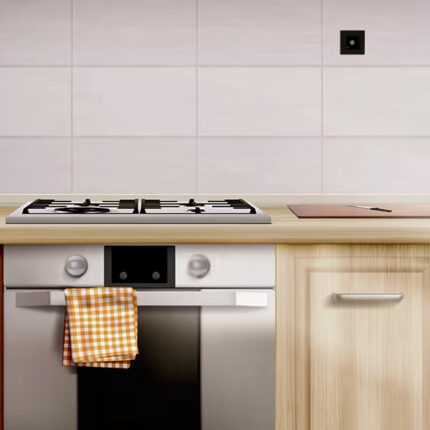
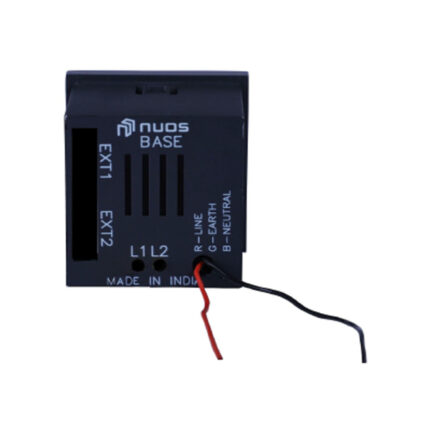
NUOS Zigbee Lux Sensor is Wireless & Retrofit and Measures Light Intensity of Ambient Light in Lux. It is Cloud Connected with In-App Visualisation and Analytics, Easy to Set Up.
Works with Android & iOS User Applications and is compatible with Amazon Alexa, Google Home & Apple Watch.
It’s Smart, Modular and Easy to Install.
| Dimensions | 45 mm x 48 mm x 45 mm |
| Weight | 100 g |
| Power Output | Drives up to 0.5A (100W Resistive) triac dimmable load |
| Power Supply | 85 - 265 V AC, 50 - 60 Hz, 1ph |
|
Networking Interface |
Built in 2.4 GHz Zigbee variants available |
| Communication Range | 0-4000 Lux |
| Buttons | 4 Touch Buttons for controlling 4 individual scene/pre-sets |
| Power Method | Communicates with up to 6 wireless touch switches in the same room |
| Maximum TX Power 2.4 GHz | +/- 1.5dBm |
| Antennas 2.4 GHz | Internal PCB Antenna |
| Wireless Security | Supports AES 128-bit Encryption |
| Data Rate | Supports wireless data rates of up to 250 kbitps |
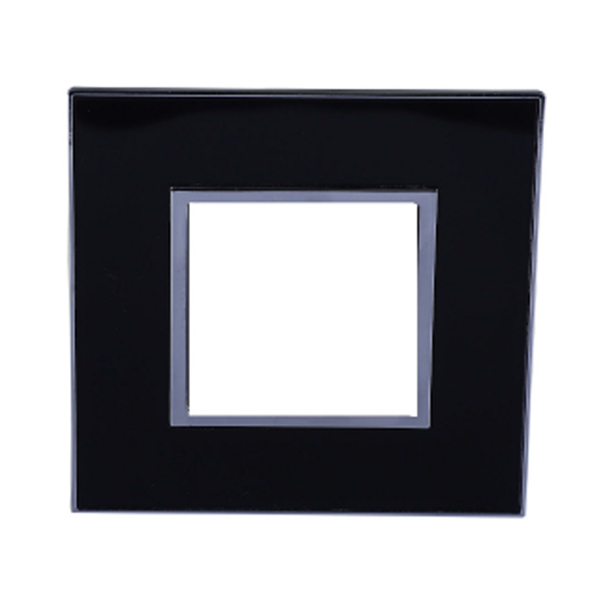
| Mounting | Snaps into switch plate |
| Operating Temperature | 5°C to 50°C |
| Operating Humidity | 5°C to 50°C |
| Certifications | RoHS, CE Class A Compliance (Self Declaration) |
Applications
Configuration
Accessories
Applications
- This sensor is used for detecting gas leak for buildings/offices, suitable for detecting of LPG, Natural Gas, Town Gas.
- The sensor data is communicated over Zigbee to the NUOS Zigbee Gateway and the appropriate actions based on the Safety Mode (triggering safety alert SMS & In-app Notification) are triggered by the Gateway if the mode is enabled.
- Has in-built Zigbee and acts also as a repeater for Zigbee Mesh Network.
- Can be accessed in dual mode local only through the same WiFi network as well as through cloud from anywhere in the world for seamless connectivity using Android and iOS Application.
- Supports ease Safety Mode Enable/Disable from mobile application.
- Support IFTTT for taking action based on certain triggers.
- Supports change of settings through the cloud from anywhere in the world.
Configuration
- Push the NUOS Sensor inside the switch plate till it snap fits.
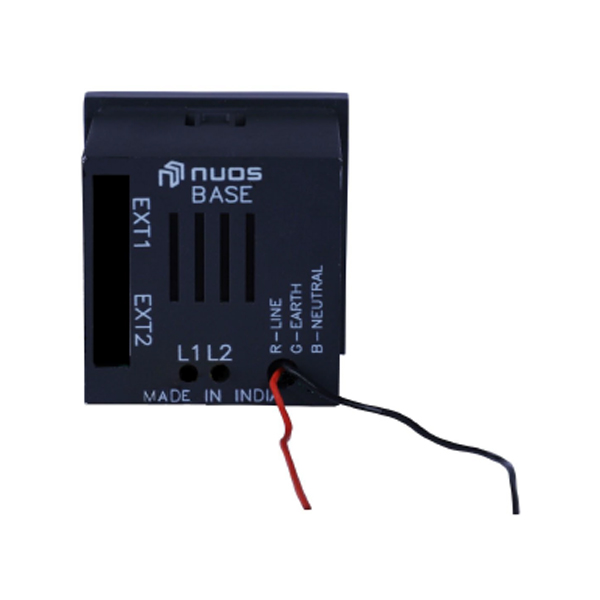
- Connect the Red Wire from behind the sensor to the Line/Live wire of the electrical circuit.
- Connect the Black Wire from behind the sensor to the Neutral wire of the electrical circuit.
- Make sure the wiring connections are tightly secured by insulation/electrical tape to avoid loose connections and arcing behind the switchboard.
- Close the switch board once the wiring is completed.
- New switches and sensors automatically associate with the gateway on power-up and can be added in the desired room using the user application.
- Please refer to the installation manual for detailed process with images.
Accessories
- Push the NUOS Sensor inside the switch plate until it snap fits.
- Connect the Red Wire from behind the sensor to the Line/Live wire of the electrical circuit.
- Connect the Black Wire from behind the sensor to the Neutral wire of the electrical circuit.
- Make sure the wiring connections are tightly secured by insulation/electrical tape to avoid loose connections and arcing behind the switchboard.
- Close the switch board once the wiring is completed.
- New switches and sensors automatically associate with the gateway on power-up and can be added in the desired room using the user application.
- Please refer to the installation manual for detailed process with images.


