Can’t find a remote? Too many remotes to handle? NUOS has the perfect Solution for you
A hassle free smart life with NUOS Zigbee IR Blaster which can control remote controlled devices all at once from anywhere and everywhere.
Works with Android & iOS User Applications and is compatible with Amazon Alexa, Google Home & Apple Watch.
It’s Smart, Modular and Easy to Install.
| Dimensions | 45 mm x 48 mm x 45 mm |
| Weight | 70 g |
| Power Output | IR Leds operating at 38kHz, Multi-direction |
| Power Supply | 85 - 265 V AC, 50 - 60 Hz, 1ph |
|
Networking Interface |
Built in 2.4 GHz Zigbee radio |
| Buttons | Setup Mode |
| Power Method | Communicates with up to 6 wireless touch switches in the same room |
| Maximum TX Power 2.4 GHz | +/- 1.5dBm |
| Antennas 2.4 GHz | Internal PCB Antenna |
| Wireless Security | Supports AES 128-bit Encryption |
| Data Rate | Supports wireless data rates of up to 250 kbitps |
| Mounting | Snaps into switch plate |
| Certifications | RoHS, CE Class A Compliance (Self Declaration) |
Applications
Configuration
Applications
- Supports control of up to 200 W per circuit.
- Has in-built Zigbee and acts as a repeater for Zigbee Mesh Network.
- Control AC, TV & more
- Can be accessed in dual mode – local only through the same WiFi network as well as through the cloud from anywhere in the world for seamless connectivity using Android and iOS Application.
- Supports ease All On/Off Mode for conveniently turning on/off while entering and exiting the room.
- Supports unlimited (limited by mobile device memory) mood/scene/favorite profile setting through one click.
- Supports up to 8 schedules/alarms on devices on and off for automatic device control.
- Supports renaming device names individually on each mobile/user device.
- Supports change of settings through the cloud from anywhere in the world.
Configuration
- Check NUOS Zigbee Gateway configuration for setting up and configuring the gateway.
- Push the NUOS IR Blaster inside the switch plate till it snap fits.
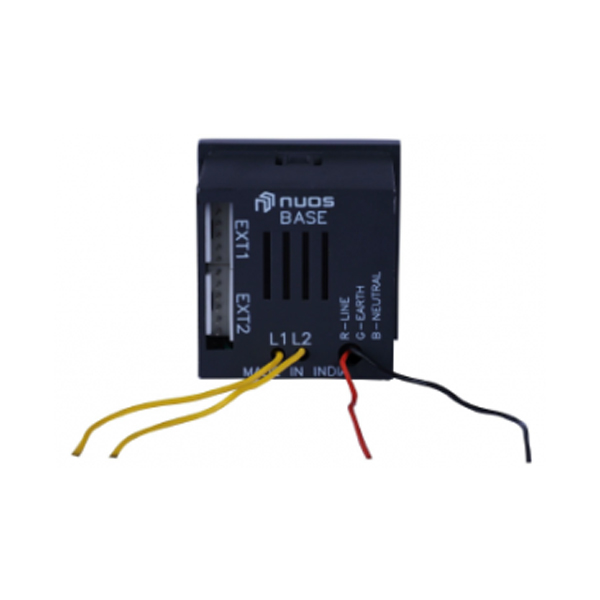
- Connect the Red Wire from behind the switch to the Line/Live wire of the electrical circuit.
- Connect the Black Wire from behind the switch to the Neutral wire of the electrical circuit.
- Make sure the wiring connections are tightly secured by insulation/electrical tape to prevent loose connections and arcing behind the switchboard.
- Close the switch board once the wiring is completed.
- New switches and sensors automatically associate with the gateway on power-up and can be added in the desired room using the user application.
- Please refer to the installation manual for a detailed process with images.


